Ibn Tulun; Drawing Lajin’s Minbar, 1

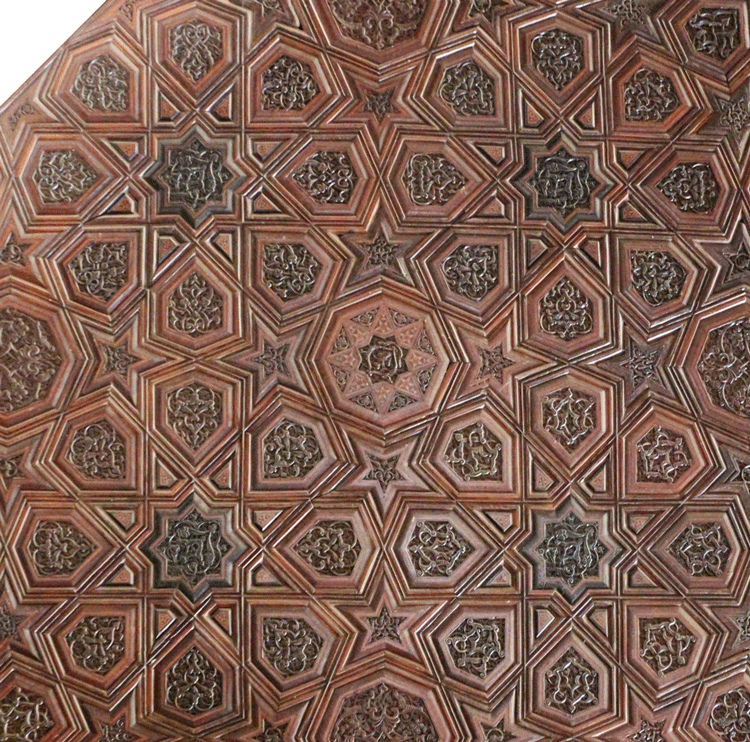
The Minbar of Ibn Tulun, Sultan Husam al Din Lajin al Mansuri’s Minbar, 1296
This is a site about drawing pattern, so it’s time to start on the discussion of the drawings. The rosette pattern of the main fields on the flanks of this minbar is one of the most common patterns in the Islamic geometric design vocabulary. We can also take some time here to show how this tiling of the eight point rosette evolves on the minbars of the Zengid tradition to this one of the Mamluks. This will repeat some material found in the discussion of the rosettes but one never knows in what order people read posts.

The doors of Lajin’s minbar; interior and exterior.
The patterns on the doors of the minbar are also classics of the Mamluk and Anatolian tradition. The pattern of 12 and 8 point rosettes tiled together will appear in this layout unchanged for 800 years.
The Historically Common Layout of the Eight Fold Rosette.
Drawing this pattern begins with understanding this rosette. This rosette definition and the tiling on which it is multiplied are the complete definition of the pattern of the minbar. No artistic decisions are required in the geometry of this pattern beyond choosing the tiling.
Discussing the layout of this rosette causes a great deal of unhappiness. I will use the method I use here for good reasons which will be pointed out as the pattern develops. This layout is used for about 99% of historical patterns. Other proportions do occur but they are rare outside of some zellig examples.
This exact layout method has been understood and used for at least 150 years in art historical discussions.

From a contemporary monument. Archäologische Reise. Sarre und Herzfeld
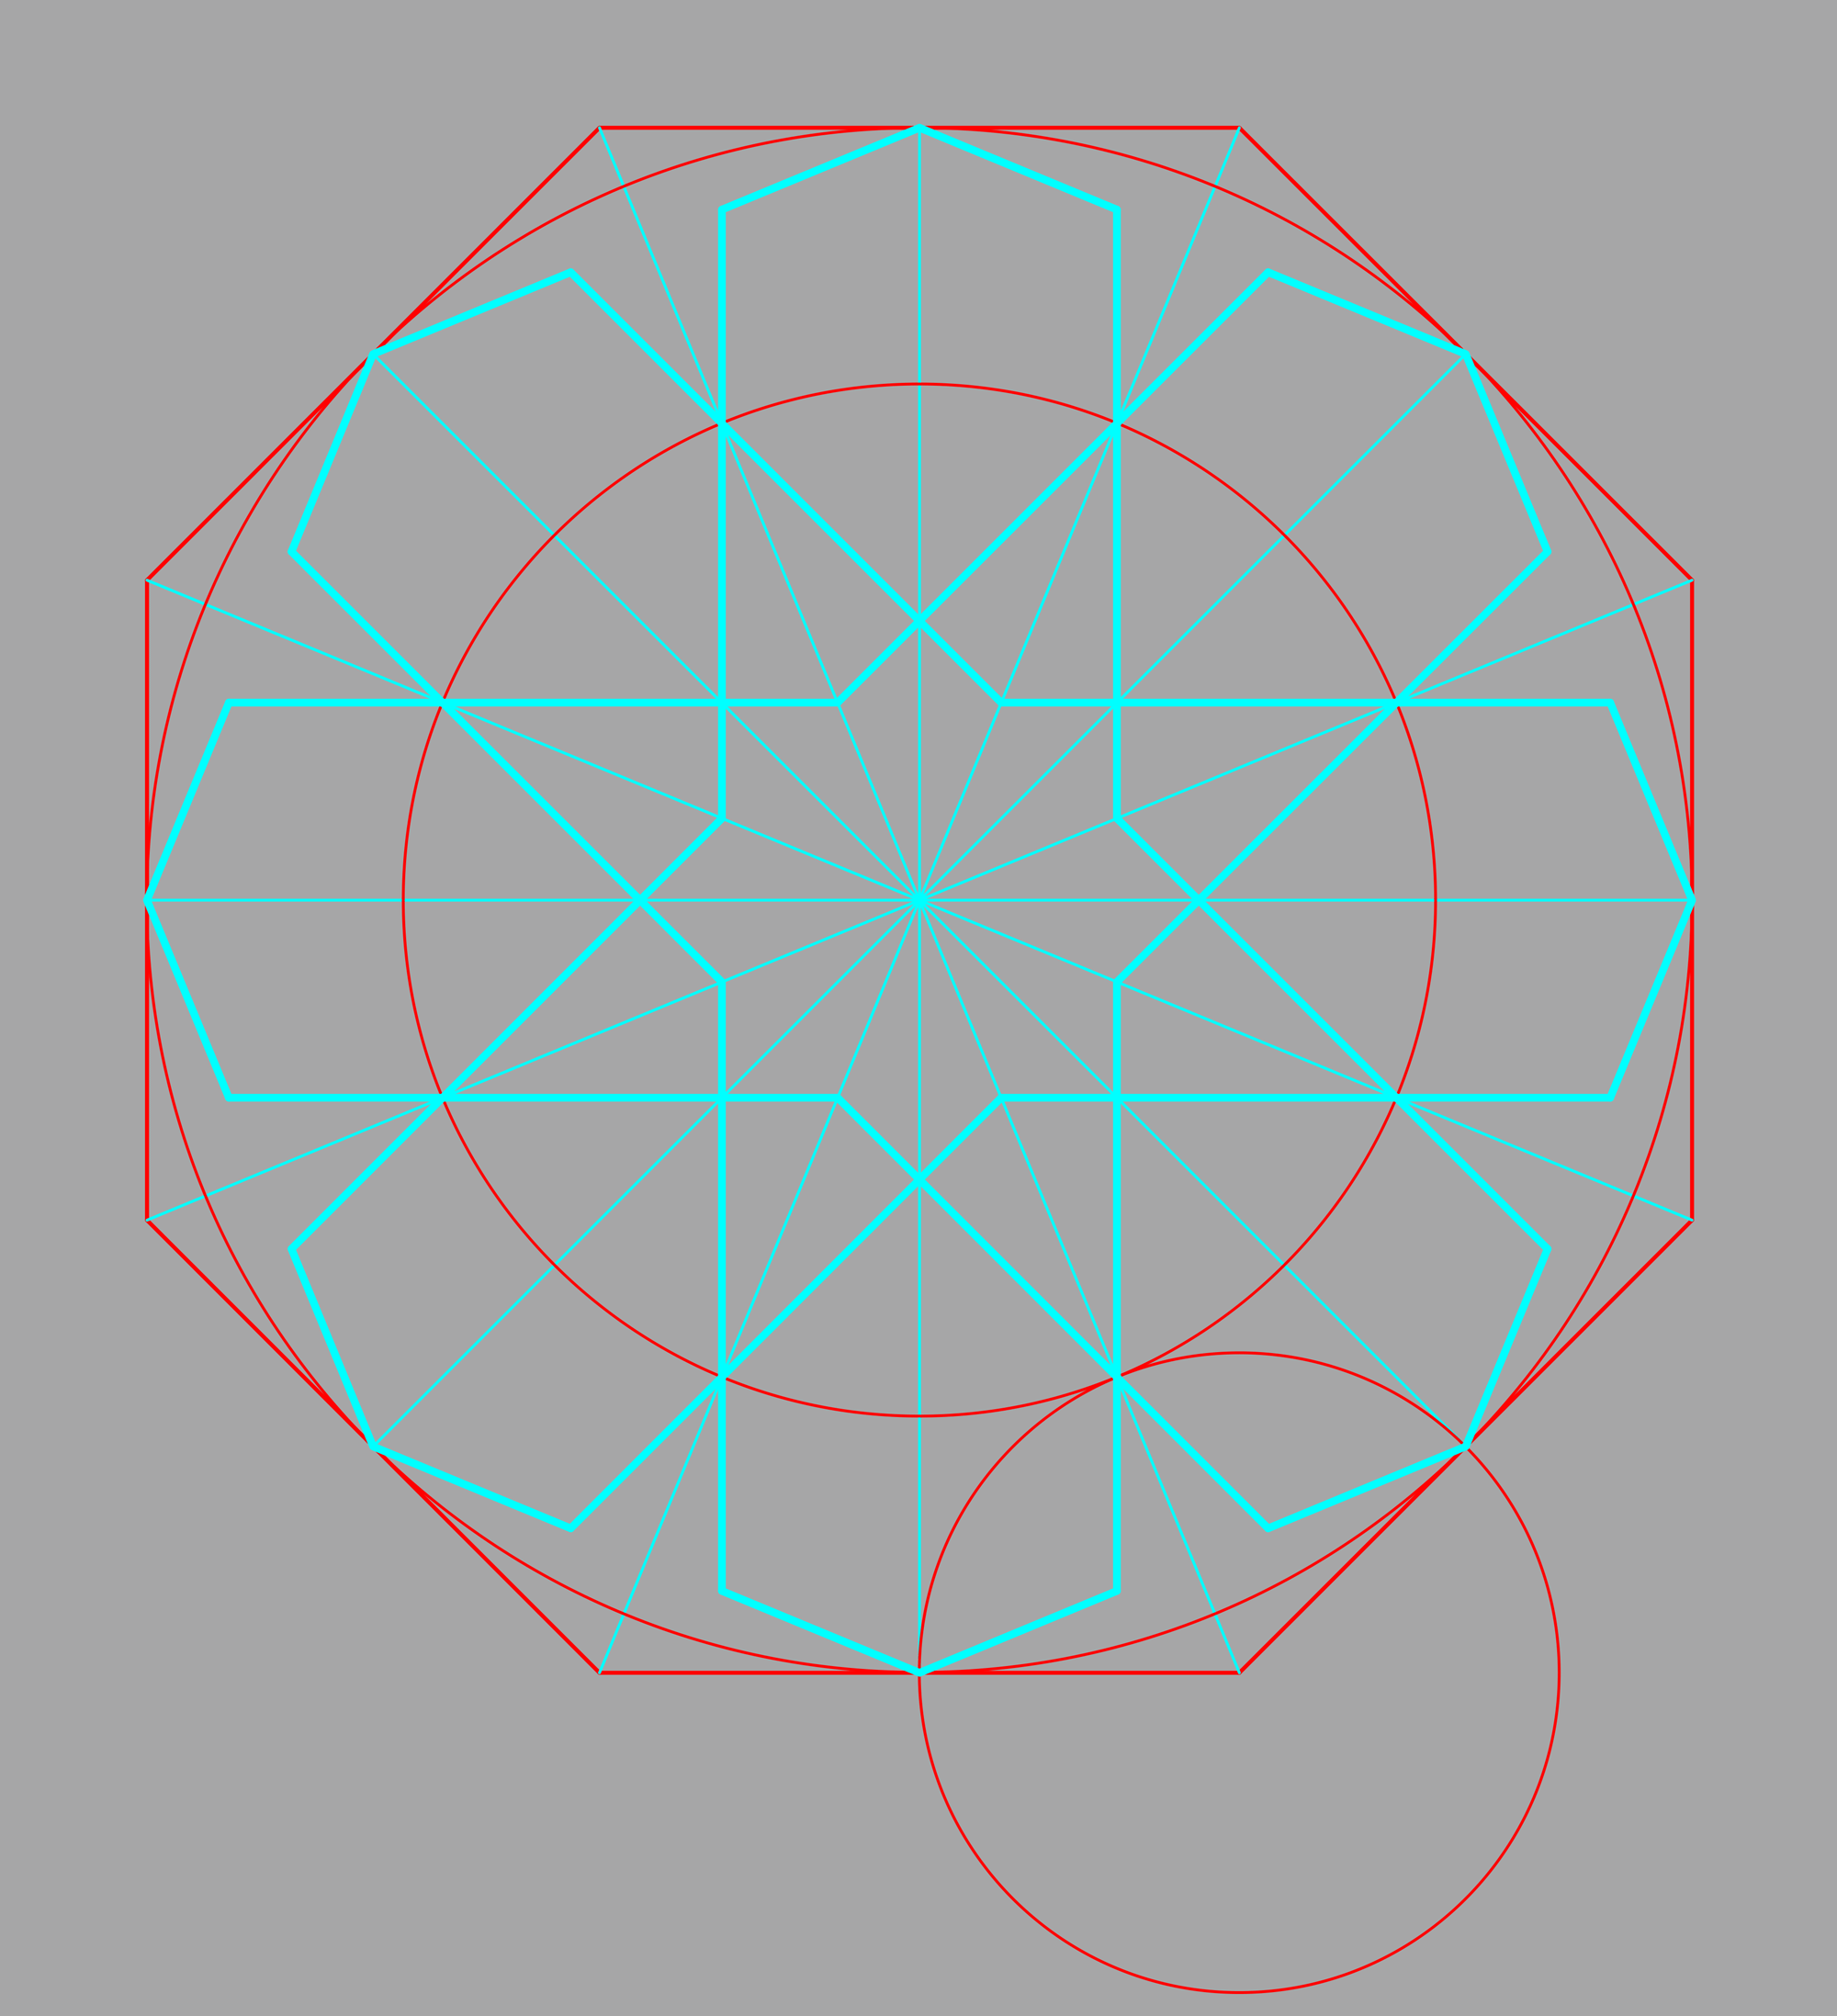
All rosettes start with a layout circle and a division of the circle into twice as many parts as the number of petals in the rosette. The 8 fold rosette sits inside a 16 fold divided circle. We could study this one in an isolated circle but many of the key points which make this rosette interesting are clearer if we start with a larger layout of four rosettes. This requires constructing four tangent, touching, divided circles.

Almost all layouts begin with a circle on a line, and erecting a vertical bisector at the center point.


The bold square defines the workspace for 4 rosettes. We need to place four new layout circles in the corner squares.

Dividing layouts to create new circles is reasonably accurate down to two divisions. This single division to find new centers should be quite accurate.

We now get to the first part that sounds like a lot of work. We need to divide every circle into 16 parts. The construction we used to get this far has already divided them into 4 parts.
The way this is drawn, with four circles sitting on a fifth large circle, is extremely useful. A divided circle drawn on a division radius of a larger divided circle shares the other divisions of the large circle. If we draw from the center of circle [a] to the divisions on the circumference of the circle around the origin [o] we get perfect divisions of the circle at [a] at almost no cost in additional work. As a bonus, we get 16 divisions of the circle at [a] from the 8 divisions of the circle at [o]. This is a real labor saver in drawing. Don’t draw the grey parts of the line to keep the layout neat.

We have four equal circles, 16 fold divided. At this point we can start the layout of the rosettes. We need to stop here to add some information about what we have drawn. This is a closest possible square “Circle Packing” but there is more going on here.

Connecting the points on the sides of the square creates four octagons, a new square in the center, four quarter squares in the corners, and four half squares on the sides. This arrangement is common and special enough that it has a name. This one of the Archimedean tilings. It uses two tiles, an octagon and a square, with all side lengths equal. It covers the infinite plane with no gaps. This tiling is the foundation for a remarkable number of common patterns. I will cover some of them at the end of this discussion.
[Optional Information: Euclidean tilings use a single regular polygon to tile a plane. Think of the hexagons or squares tiling. Archimedean tilings use two regular polygons, with some additional definition restrictions. Octagon and square, two regular polygons, make this an Archimedean tiling.]

It is time to put the rosettes in the new octagons.

The rosette will sit in the circle inside the octagon.
[Optional Information: This is the “Inscribed Circle” of the octagon. Learning some names is very helpful in discussing how to draw a layout.]
The first step in creating the rosette is the most common question about drawing geometric pattern. “How do you define the proportioning circles?” This is the key proportioning circle. Its center is on the corner, vertex, of the octagon around the rosette. In general, it is where the first of the 16 divisions touches a tangent. It is easy to identify here but sometimes it will need a bit of work so it is good to remember what defines its center.
[Optional Information: This is an Incircle. Its center is the Incenter of the bold triangle and it is tangent to all three sides. It has a number of interesting properties for pattern construction but we will not use them here so it’s an optional piece of naming to add to your geometry knowledge.]

The first small proportioning circle defines the inner layout circle of the rosette. This inner circle does most of the work in defining the pattern.
At this point we can see why the proportions shown here are “special” and preferred in the historical examples. If there is a single rule in Islamic geometric pattern it is this; the best possible symmetry is desired at all times, at all levels obvious or hidden, in all places. Sometimes a symmetry element is sacrificed to make a pattern work where it really should not, but the best possible symmetry is always the preferred case.

These two proportioning circles create a perfect circle packing. This is the only possible perfect circle packing for circles at the vertices of the Archimedean tiling of octagons and squares.
[Optional Information: Polygons “Tile”. Circles “Pack”]

Finally, we draw the pattern. Almost all of the structure of a rosette is defined by a simple star polygon. We go to a lot of work to put that star polygon in a particular place, with specific proportions relative to the layout circle, but this star polygon then does most of the work to create the pattern.
A second part of the pattern, creating the ends of the petals, is defined by the octagon inscribed in the layout circle. This is not the most general definition but we don’t need the full general definition here. We will see it in the discussion of the 12 plus 8 pattern of the doors.
[Optional Information: This is a {8/3} star polygon. Named as “number of points” and what two are connected. Geometers count from zero, so it is zero to three.]

The rosette proper is complete. The rosette is the part of the pattern inside the octagon and the layout circle. There is very often more pattern structure inside “the tile”, the repeating unit. Since we are discussing this as an Archimedean tiling- the octagon is the tile and this is complete.

Four rosettes leave a hole in the middle, the space defined by the second tile, a square. It is useful to think of the pattern this way since there are now several options for what we put in that square to complete the pattern. For all of the minbars we will look at here, the rules are simple. The rosette pattern lines are extended into the square tile until they cross.

A regular octagon results. Our classic pattern is complete. The second result which makes this pattern special is now clear if we look at the star formed inside the smaller layout circle. The angles of this pattern are multiples of the 16 fold division. This five star cannot be a perfect symmetry star using those angles but rule one of Islamic pattern is to make it as symmetric as possible. That means; all arms of the star are the same length, eight of the ten sides are equal, and all five vertex angles are equal. One of the inside angels needs to be different, and the two sides which define that angle are longer. Even with this compromise forced by the rosette symmetry a very acceptable symmetry star results. Any other layout will gives poorer symmetry result.
We have now drawn a significant fraction of the ibn Tulun minbar pattern. Exactly this pattern of four rosettes appears on the Lajin minbar. near the center and as a partial pattern in 4 places around the edges. We will need to do some more work to get the entire pattern. (This is the minbar pattern rotated 45°)
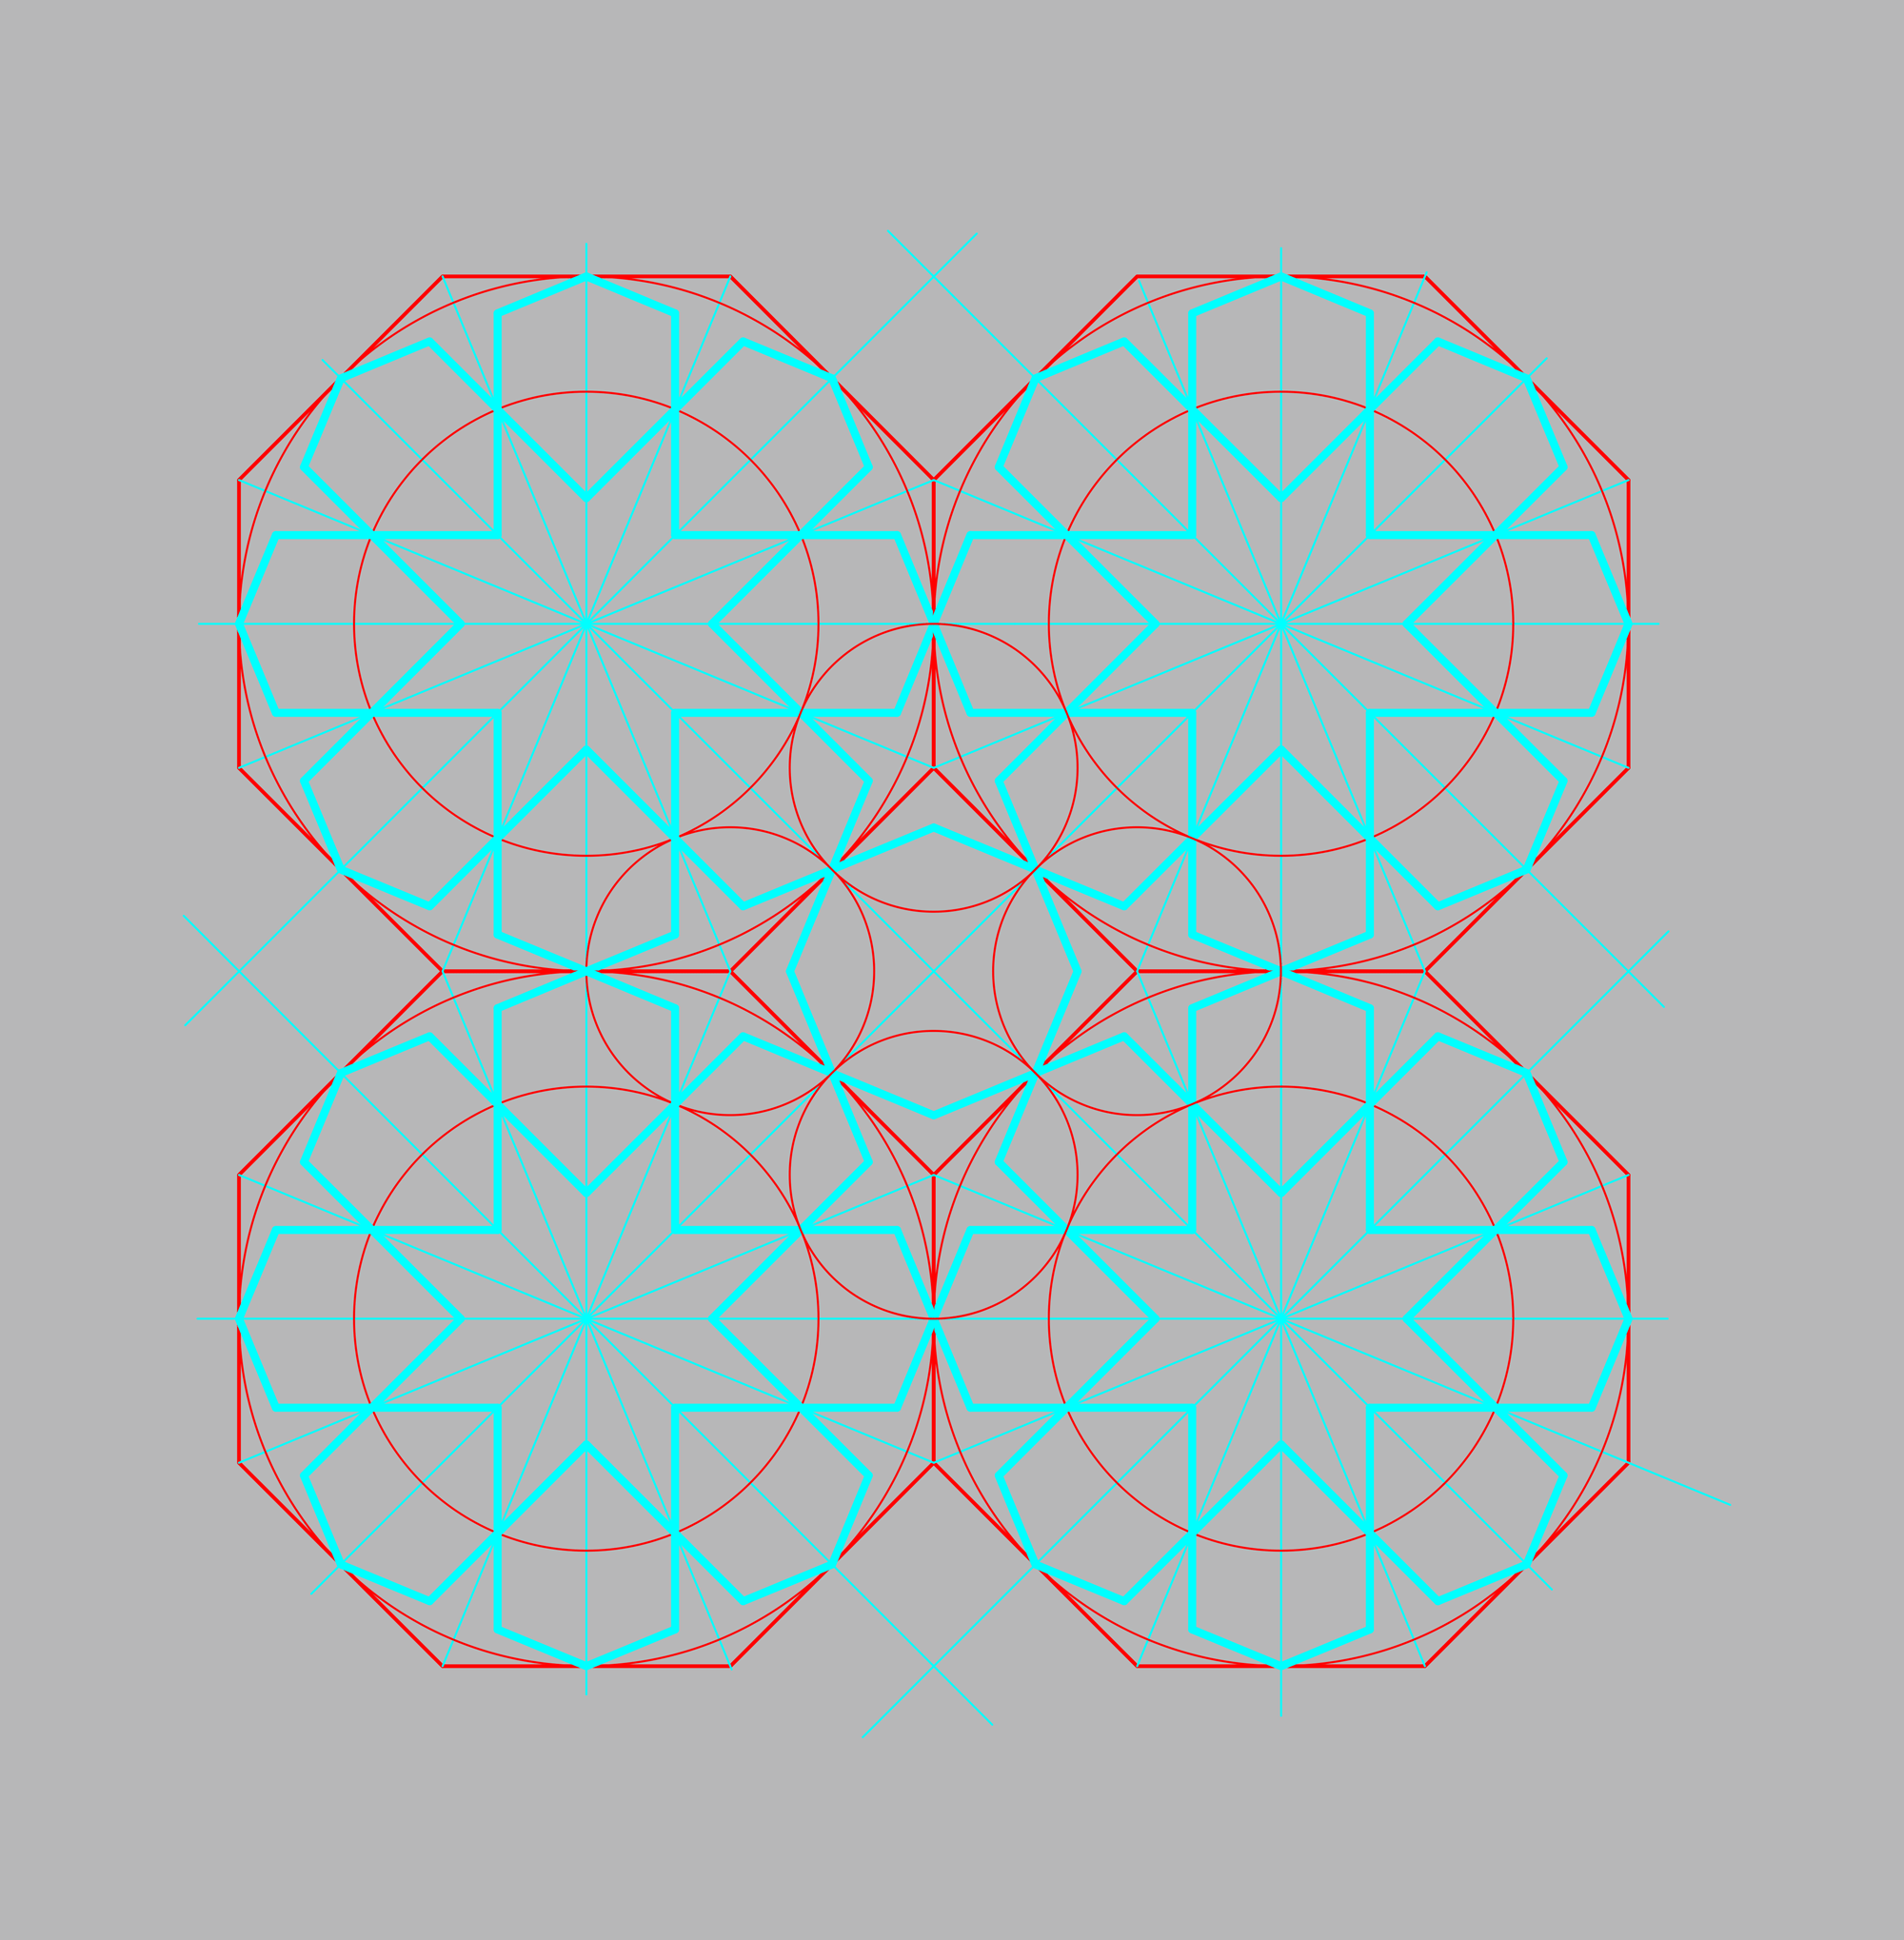
If this small modification of the pattern is made we have the complete definition of the full tiling of the minbar from the Alâ ad din camii, Konya. Its pattern is the simplest tiling of the rosette in an Archimedean tiling. This modified center star appears in many patterns and this modification will also appear in the 12 plus 8 rosette door pattern of Lajin’s minbar.
This is a good place to break the discussion before we back up and look at the more complex tiling of the complete pattern of Lajin’s minbar. Come back for part three.